Southern Listeners

Loading
Thanks to Greenlava for this cool gadget. Get yours here

Monday, January 31, 2011

Place Blogger Comment Form Above Comment Blocks

I have already composed and published another tutorial, and I saw a question on this. So I removed the other post and decided to write on this one instead. Since I've just composed the other lengthy post, I'll be brief on this one. So, when you have an embedded comment form, your comment blocks will appear first, followed by your comment form at the bottom of the post.


UPDATE: THIS TWEAK WILL NOT WORK WITH THE NEW BLOGGER REPLY COMMENT SYSTEM. CLICK ON 'REVERT WIDGET TEMPLATES TO DEFAULT' TO UNDO THIS TWEAK.

The doesn't sound so bad, except when you have lots and lots of comments. One would have to scroll all the way down to look for the comment form. So, why not just place it at the top instead, right after the end of your posts?

Sunday, January 23, 2011

Blogger Header Image Size/Blur Fix

I have no idea what's going on with Blogger's development team. But apparently, there seems to be some huge bugs being left here and there. The latest one comes in the form of header images. When you upload a header image to Blogger (or Picasa Web Album), it will either be small or blurred. You can fix this by hosting your header image elsewhere. If you know how to do this, go do that, and stop wasting your time here. Because that is exactly what I'm going to show in this post. Let's cut to the chase and see how to fix this shall we?


Friday, January 21, 2011

Blogger Comment Form Isn't Showing? - Place Multiple Comment Forms!


UPDATE: THIS TWEAK WILL NOT WORK WITH THE NEW BLOGGER REPLY COMMENT SYSTEM. CLICK ON 'REVERT WIDGET TEMPLATES TO DEFAULT' TO UNDER THIS TWEAK.

Quick Note: This tutorial doesn't teach how you can bring back your missing comment form - as it is highly likely that it is a problem with your browser. This tutorial teaches you how you can add a back-up link to allow your readers leave a comment in case your comment form doesn't appear in your readers' browsers.

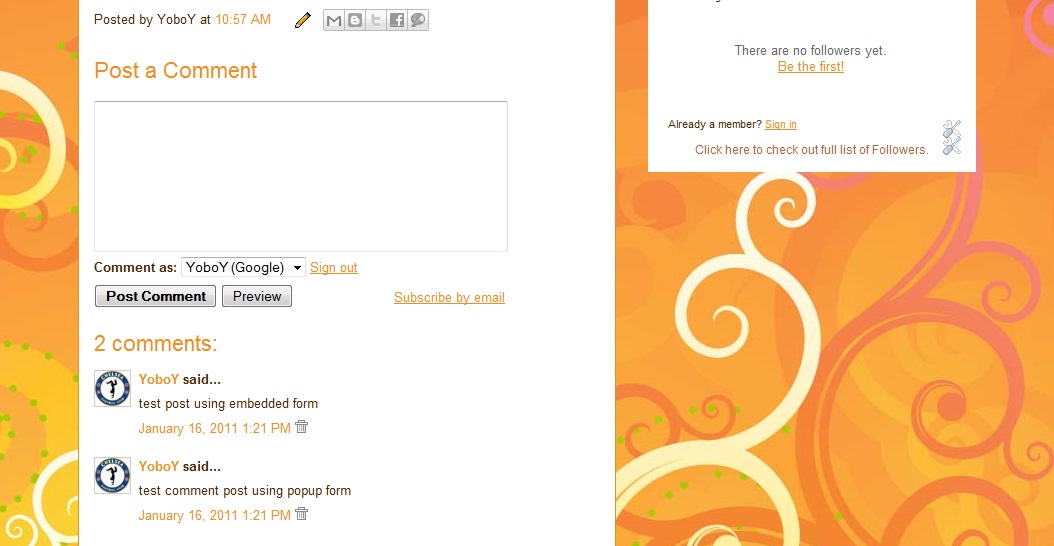
The Blogger Comment system is an important part of any blog. Blogger gives you the option to either place the comment form embedded in your post page (known as 'Embedded below post'), or have the comment form in an external page. The external form placement comes in two different options - to load the external comment form from the current page (known as 'Full Page'), or pop-up a new window to load the external comment form (known as 'Pop-up window'). At any given time, you can only choose either one of the two options provided (either embedded or external placement).


Lot's of users prefer to have the comment form embedded within their post page because it is so convenient for readers to leave comments within the page itself. Besides, the external form placements have their own disadvantages when it is seen holistically. Full Page placement will overwrite 'over-load' the post page to open the comment page, and Pop-up Window placement will open a pop-up window, which will get blocked if pop-up blockers are installed at the reader's side.

Here comes the problem. Embedded comment forms are not foolproof either. Due to some browser problems, and/or add-on related issues, sometimes the embedded comment form becomes dysfunctional. I have experienced this at two different times, and until today, I could not identify what caused the problem. It just resolved by itself. But during that period, I could not leave any comments anywhere. This could happen to you too. You could lose lots of comments if your readers' browsers fail to make the embedded comment forms functional - and you'd be so clueless when it happens as usually it is not epidemic.

Solution: Place both embedded comment form and external comment form together. Embedded comment form as primary option as usual, and a link to external comment form as a back up! I spent lots of time to come up with this one, and I guarantee you, this is first on net!

Wednesday, January 19, 2011

Blogger Dedicated Comment Page

You can have comments enabled for all of your posts and pages. But what if you want a dedicated page in your blog just for comments? Yes you can! Your readers could leave generic shoutouts in that dedicated comment page, just like regular comments from your posts. And it is so easy to do!

Tuesday, January 18, 2011

Blogger Floating Icons

This one is a request from blog reader RaindropSoup. She wants to know if the concepts used in 'Blogger Christmas Banner' and 'Blogger New Year Banner' tutorials can be extended to work with three or four images, all at one side, with links. Well, you almost certainly can. The concept remains the same. You just have to wrap your individual images in div tags to force line breaks among them. Let' cut to the chase.


Sunday, January 16, 2011

Blogger Pages Gadget No-Stretch

If you're using Awesome Inc template, you'll know what I'm talking about. The Pages Gadget menu stretches from left to right horizontally. Though this might be one of the distinctive features of the Awesome Inc template, it might seem out of place for some users. In this tutorial, I'm going to show you how you can quickly convert this stretching gadget to a decent one that adapts to the width of your main posting area.


Saturday, January 8, 2011

Adding a Third Party Blogger Template

I'm literally running out of things to write tutorials on. If you have something unique to ask and you think it will be a great tutorial material, please feed me your ideas by posting your questions here. Now back to this post. This time it's for beginners.


Third party templates are templates that don't come 'built-in' in Blogger's layout. It's created by some third party. And most of the time, it'll be hard to tweak/modify these templates. BUT, most third party templates clearly beat Blogger's 'built-in' templates when it comes to cosmetics. And it's not all difficult to add one to your site.

Monday, January 3, 2011

Blogger Custom Profile

Blogger comes with a Profile (or About Me) gadget. Your display image and a small description about yourself will be shown in this gadget. However, there are few drawbacks with this conventional gadget. Say you have two or more blogs. One for your family, and another one for your work. Your default profile gadget will be the same for both these blogs. You might not want that, as you might prefer to show different information about yourself on each blog. That's when Custom Profile comes to your rescue.

Another scenario. If you have a team blog, your Profile gadget will automatically turn into a contributors-list gadget. If you want to show individual profile gadget for all (or some) of your contributors, you can use this custom profile gadget. Best part of all, it's so easy to add.

On top of that, you can stylize this gadget as you want. With the default profile gadget, you have to settle for this pre-existing unalterable format. With a custom profile gadget, you can give colors to your text, change 'View My Complete Profile' line to something else, position the contents of your profile however you want, underline/bold/blink certain text, insert table in your profile (what?), add border around text, change display image size, and much much more! Your creativity is the limit.